Enterprise Architecture Overview
The OpenLink Enterprise Edition ODBC to ODBC Bridge Driver enables seamless connectivity to any ODBC-accessible database. This guide walks you through the installation of the driver components to a Personal or Application Server host functioning as a client to a database accessible via its native ODBC Driver.
Why OpenLink ODBC to ODBC Bridge Connector?
ODBC has become the standard native API for third-party application interaction with DBMS platforms. However, basic connectivity alone doesn't address the data security, privacy, and administrative architecture challenges facing modern enterprises. OpenLink's ODBC to ODBC Bridge Connector solves this with:
Fine-Grained Access Control
Powerful attribute-based access controls (ABAC) as ODBC session-level enforcers of data access policies, aligned with governance requirements and compliance standards.
Enhanced Data Security
Comprehensive protection mechanisms addressing data security and privacy challenges, ensuring sensitive information is protected at the session level.
Deployment Flexibility
Flexible topology options essential for managing large-scale ODBC-based client applications and services in enterprise environments.
Step 1: Download the Installer Archive
Visit the Download Page
Navigate to the OpenLink ODBC Enterprise Edition Driver Download Page to download the appropriate ODBC to ODBC Bridge Driver for your architecture.
Alternative: Download via curl
Alternatively, you can use curl to download the installer archives directly:
curl -O https://download3.openlinksw.com/uda/components/9.0/x86_64-generic-win-64/waaozzzz.msi
curl -O https://download3.openlinksw.com/uda/components/9.0/x86_64-generic-win-64/wabrzzzz.msi
curl -O https://download3.openlinksw.com/uda/components/9.0/x86_64-generic-win-64/wao3zzzz.msi
These commands will download all three required MSI installer files to your current directory.
Step 2: Pre-Installation Configuration
Before proceeding with installation, ensure that the following requirements are met:
Third-Party ODBC Drivers
You must possess third-party or native ODBC drivers that connect to your target data source. A client portion of these drivers must be installed on the same machine as the Multi-Tier "Enterprise" Edition Request Broker and Bridge Agent(s) for ODBC Data Sources.
Architecture Match
You must know whether the local ODBC components are 32-bit or 64-bit. The Multi-Tier server components must match the bit format of the local ODBC components, not the operating system architecture.
System ODBC DSN
A system ODBC DSN must be created for the third-party or native ODBC driver before installation. This DSN will be referenced during the bridge driver configuration.
Step 3: Installation
Follow these steps to install the Enterprise Multi-Tier ODBC-ODBC Bridge components:
Log In to Target Machine
Log onto the target machine where you will install the ODBC-ODBC Bridge driver components with administrative privileges.
Copy MSI Files
Copy or download all three Windows MSI installers to the target machine:
Run MSI Installers
Run each MSI installer to install the client and server components of the Enterprise Multi-Tier ODBC-ODBC Bridge. Execute them in sequence as listed above.
Enter Configuration Information
Take care to enter correct information when prompted during installation, particularly:
- Ports (default is 5000)
- Passwords
- Other configuration options
Important: Note down all entered information for future use and troubleshooting.
Verify Installation
The installation should finish without error. If you encounter any issues, review the error messages and consult the troubleshooting resources.
Step 4: Configuration
Environment Variables
The installers will have automatically set up all the environment variables required to use the OpenLink drivers. No additional configuration is typically needed at this stage.
License Files
Place the License file(s) in the {OPENLINK_INSTALL}\bin directory:
oplrqb.licodbc.lic
These files are either purchased or obtained during the evaluation download process. Without valid license files, the driver will not function in production.
Step 5: Create Data Source Name (DSN)
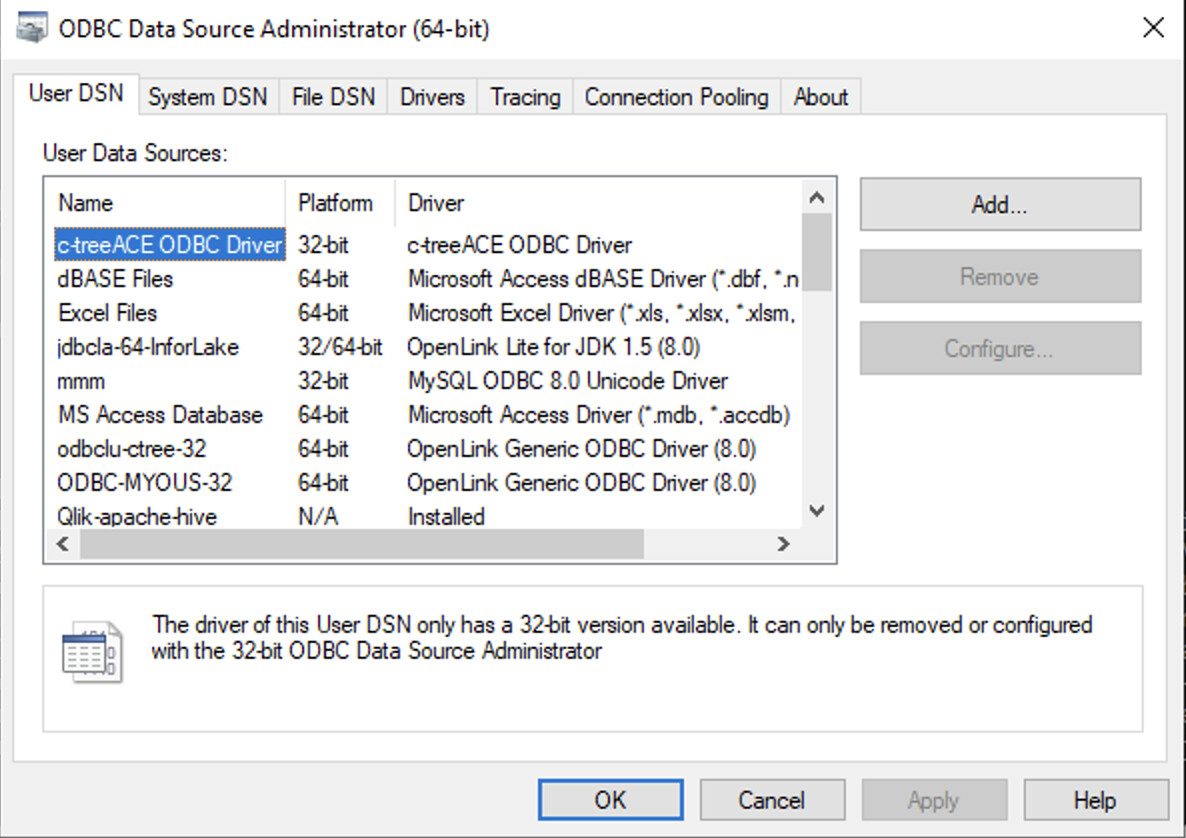
Open ODBC Data Source Administrator
Open the ODBC Data Source Administrator program from the Windows Control Panel or Start Menu.
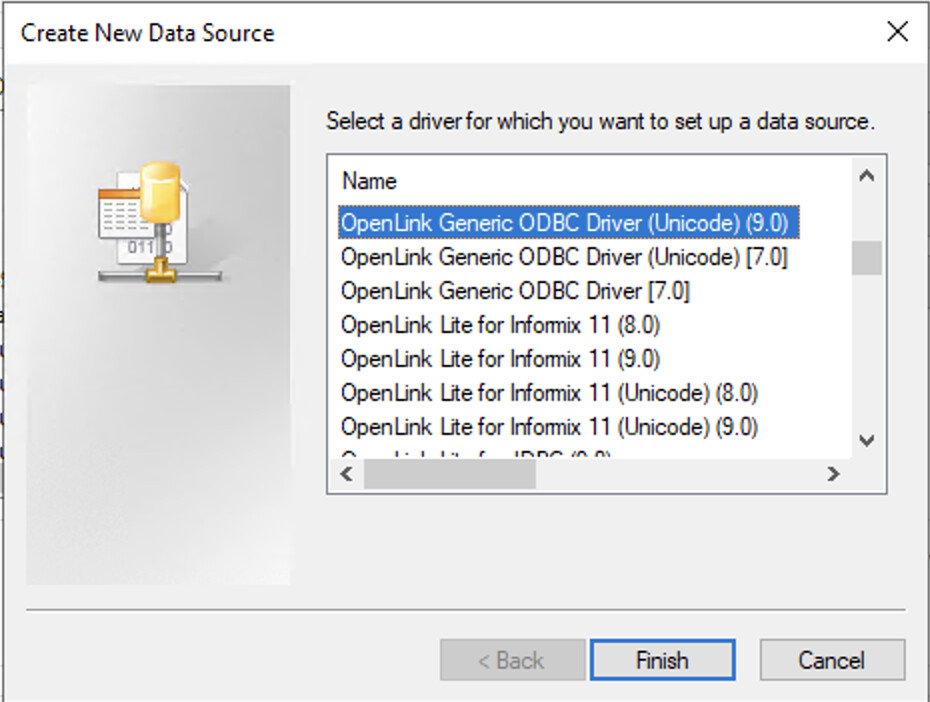
Select OpenLink Driver
Click on the Add button and select the OpenLink Generic ODBC Driver
(Unicode)(9.0) driver from the list.
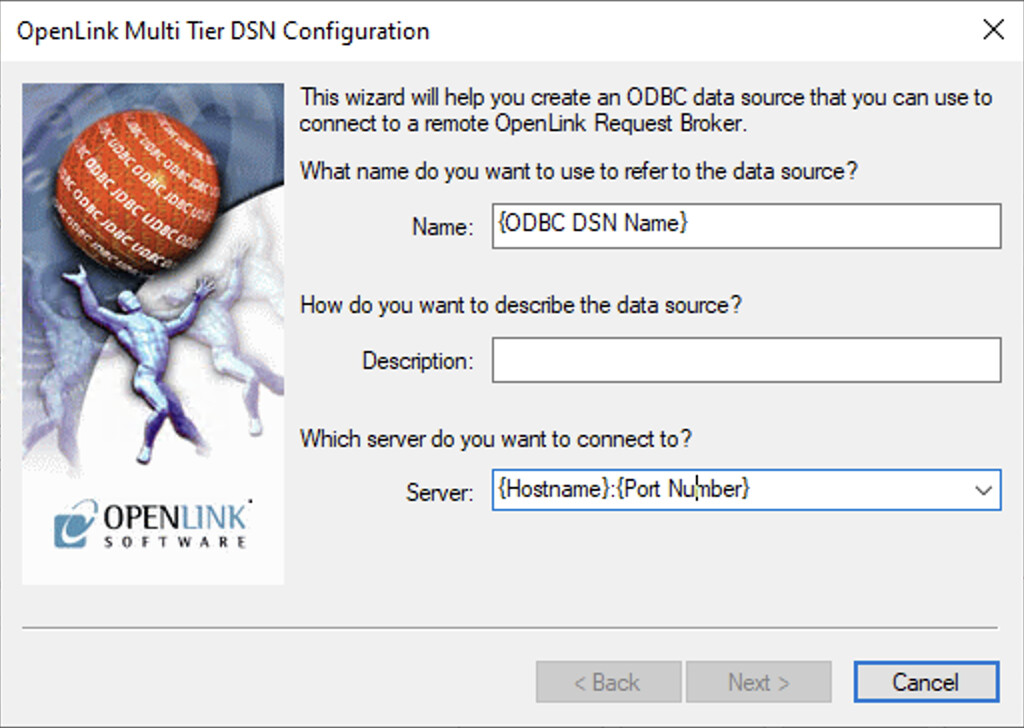
Enter Connection Details
Enter the following information in the configuration dialog:
{ODBC DSN Name}: A descriptive name for your data source{Hostname}:{Port Number}: The server address and port (default islocalhost:5000for local connections)
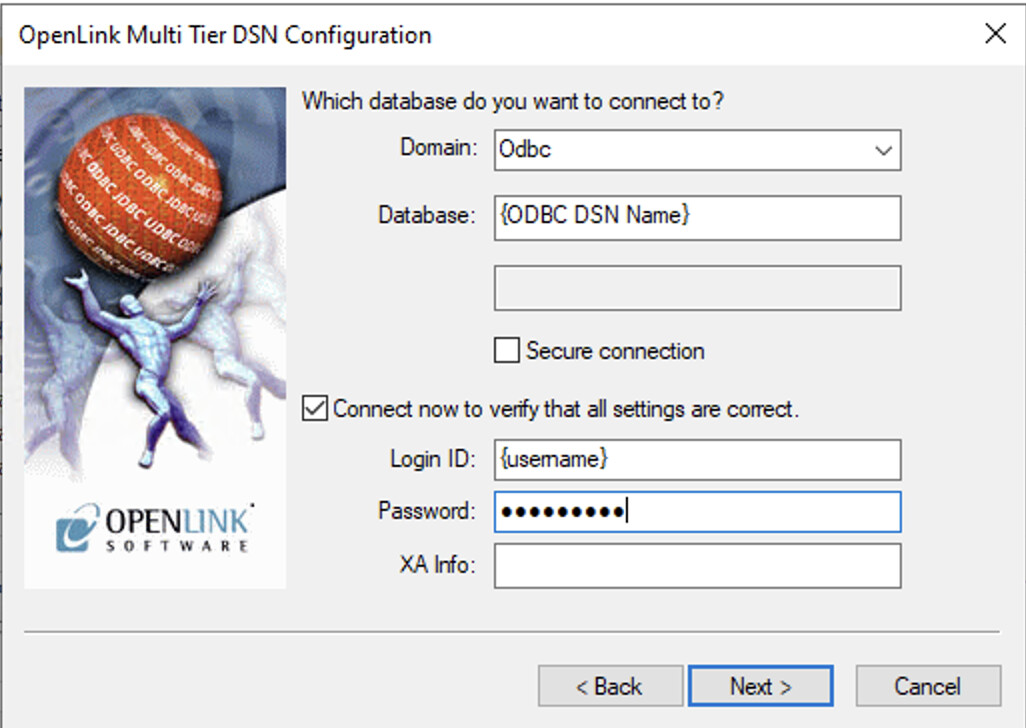
Configure Domain and Database
In the next dialog:
- Select the Domain:
Odbc - Set the Database to your third-party
{ODBC DSN Name} - Enter Login ID:
{Username} - Enter Password
- Check
Connect now to verify settings
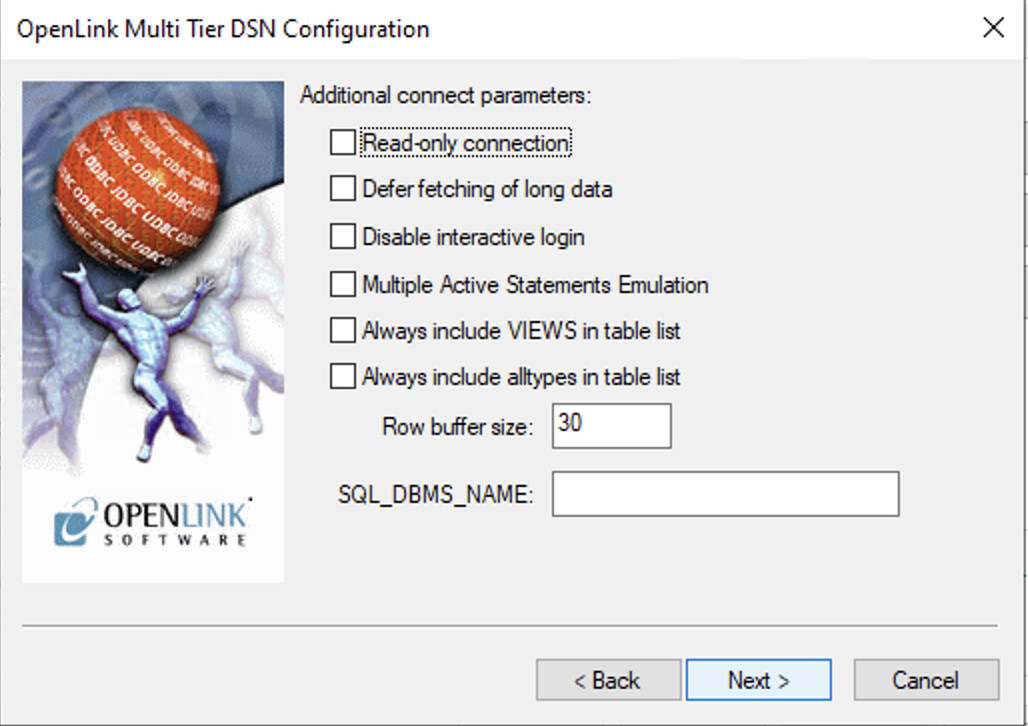
Configure Options
The following options can normally be left as the defaults for most configurations:
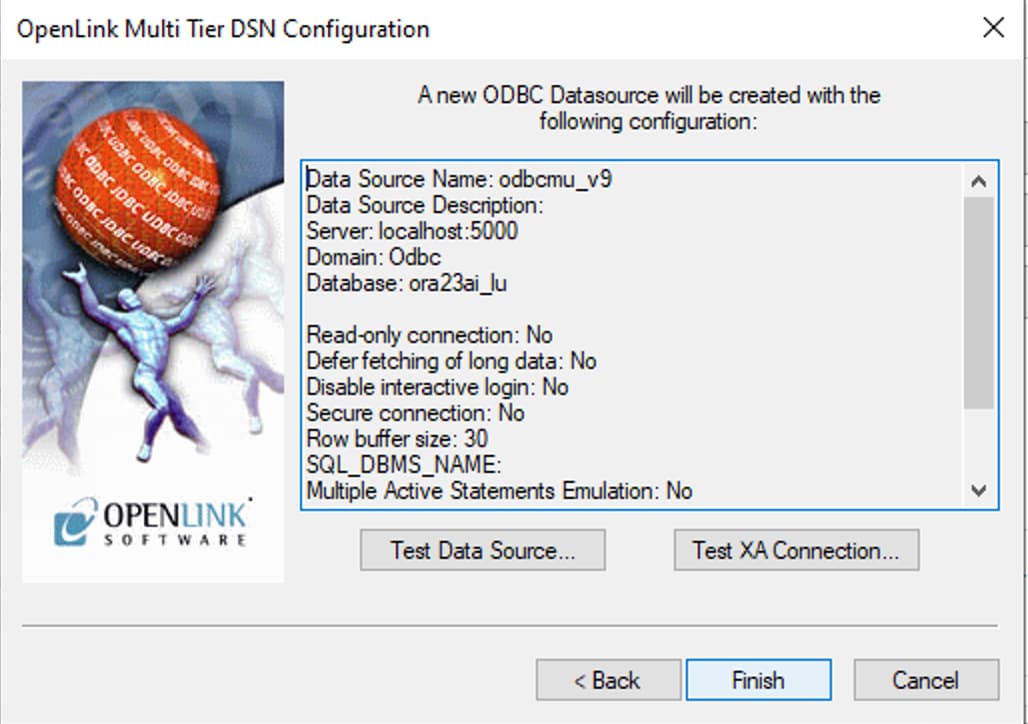
Test Data Source Connection
A summary of your ODBC DSN details will be displayed. Click the Test Data Source
button to verify the connection is working properly:
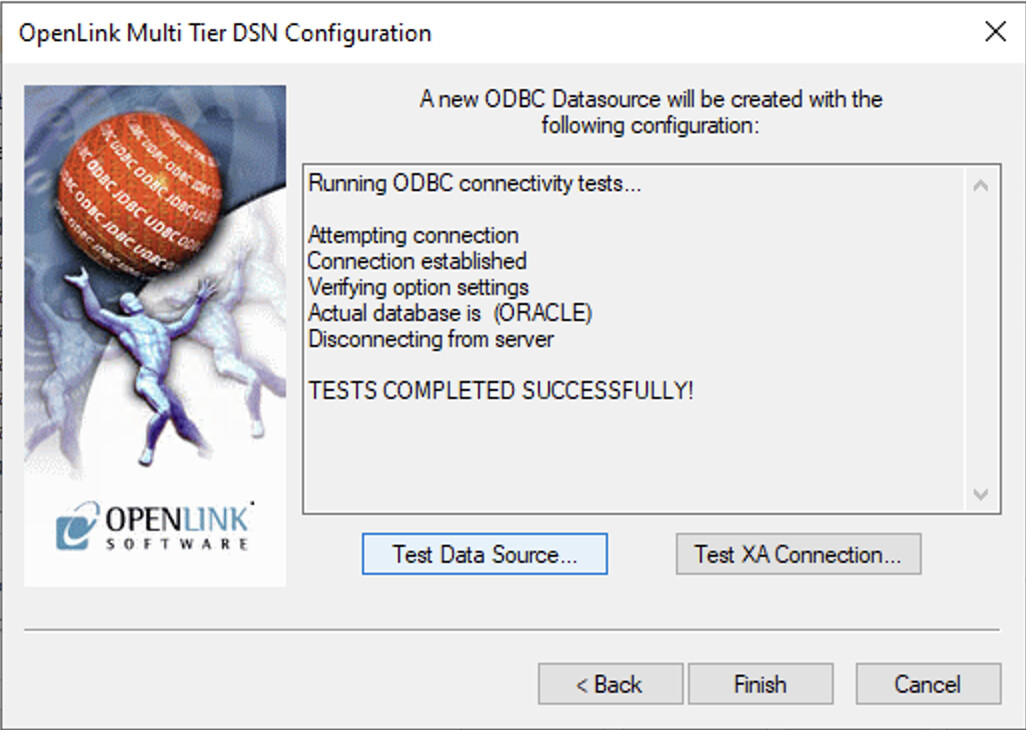
Verify Successful Connection
The connection should complete successfully. You will see a confirmation message indicating that the bridge driver can successfully communicate with your target database:
Step 6: Test Connection with Sample Application
OpenLink provides a C++ Demo sample application to test your configured DSN:
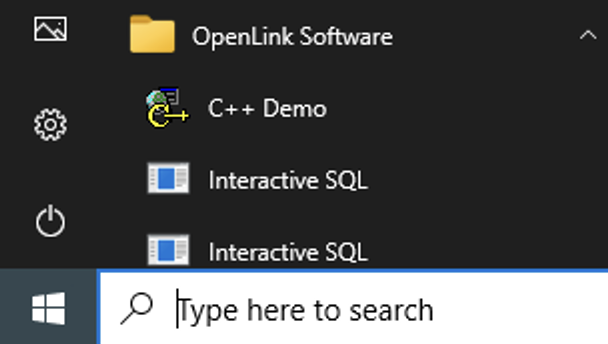
Launch Demo Application
Go to the OpenLink Software program menu and select the C++ Demo sample
application:
Open Connection
From the application menu, select Environment → Open Connection:

Select ODBC DSN
Choose the ODBC DSN you created in the previous section from the available connections list:

Enter Credentials
Enter the username and password for your target database when prompted:

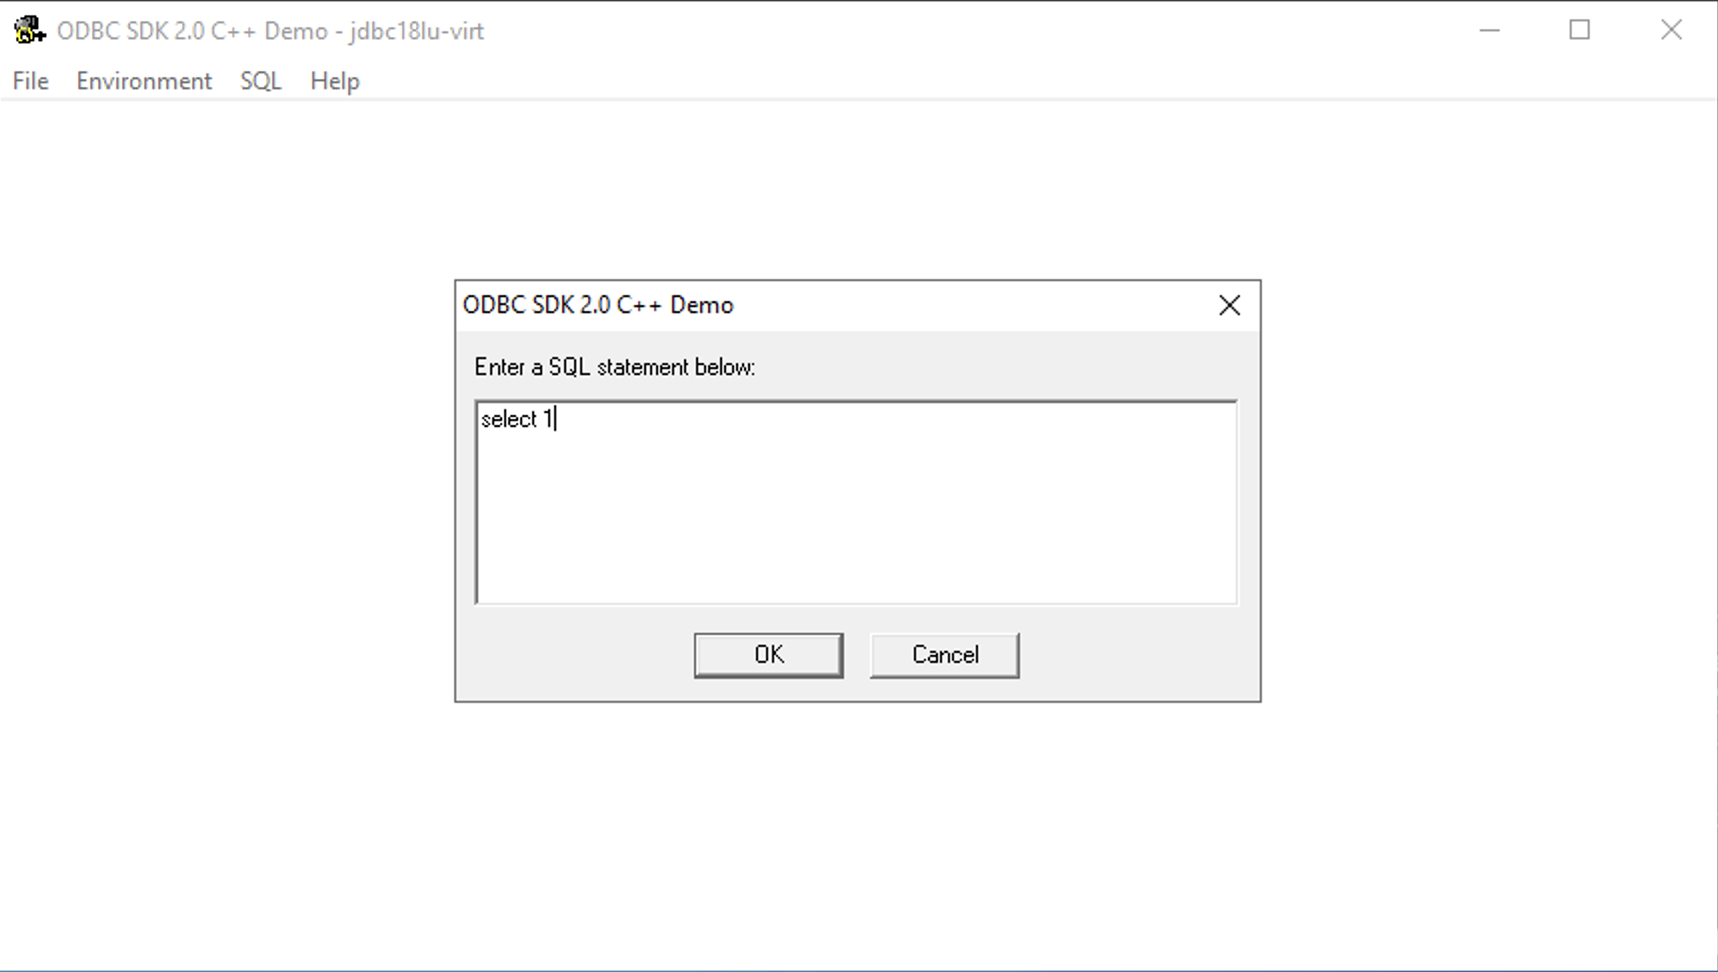
Execute SQL Query
Once connected, select SQL → Execute SQL from the menu, enter your SQL query, and
click OK to execute:
View Query Results
The query results will be displayed in the application, confirming that your ODBC to ODBC Bridge is working correctly:

Glossary of Terms
This section defines key technical terms and components related to the OpenLink ODBC to ODBC Bridge Driver installation and configuration.
ODBC
Open Database Connectivity (ODBC) is a standard C-language application programming interface (API) for accessing database management systems (DBMS). It provides a standardized way for applications to access different databases regardless of the database vendor.
DSN
Data Source Name (DSN) is a data structure that contains the information about a specific database that an ODBC driver needs in order to connect to it. On Windows, DSNs are managed using the ODBC Data Source Administrator tool.
Request Broker
The OpenLink Request Broker (oplrqb) is a core Multi-Tier component that listens for client connection requests and routes them to an appropriate database agent. It runs as a Windows Service and acts as a central hub for managing connections.
License Manager
The License Manager (oplmgr) is an OpenLink component responsible for managing and validating license files. It must be running before the Request Broker can start, as the broker checks for valid licenses on startup. It also runs as a Windows Service.
ODBC Data Source Administrator
The ODBC Data Source Administrator is a standard Windows utility for creating, configuring, and managing ODBC Data Source Names (DSNs). It provides a graphical interface for setting up driver connections.
PATH Environment Variable
The PATH is a system variable on Windows that specifies a set of directories where executable programs and libraries (DLLs) are located. The OpenLink installer automatically adds its directories to the system PATH to ensure components are found.
Bridge Agent
The Bridge Agent is the server-side component that communicates with the target database's native ODBC driver. It receives requests from the Request Broker and executes them against the local third-party DSN, effectively acting as a bridge between the OpenLink protocol and the native ODBC driver.
Multi-Tier Architecture
Multi-Tier is an architecture where a client, a middle-tier service (like the Request Broker), and a database server are distinct components, often running on separate machines. This architecture enhances scalability, flexibility, and allows for bit-format mixing (32-bit clients with 64-bit backends, or vice versa).
Frequently Asked Questions
After downloading the required .msi files, simply double-click each one to launch
the installation wizard. Follow the on-screen prompts, providing the requested information such
as port numbers and administrative passwords.
No. The Windows installer (MSI) automatically configures all necessary system environment
variables, including updating the system PATH, to ensure all OpenLink components
function correctly.
The license files (e.g., oplrqb.lic, odbc.lic) must be placed in the
bin sub-directory of your OpenLink installation folder (e.g.,
C:\Program Files\OpenLink Software\UDA\bin). After placing the files, restart the
OpenLink services.
Use the Windows Services console. Press Win + R, type services.msc, and
press Enter. Locate the "OpenLink License Manager" and "OpenLink Request Broker" services to
start, stop, or restart them.
Use the "ODBC Data Source Administrator" tool in Windows. You can find it by searching for "ODBC" in the Start Menu. Be sure to use the 32-bit or 64-bit version that matches your application's architecture.
In the DSN setup wizard, the 'Database' field should be set to the name of the third-party ODBC DSN that is already configured on the same machine and connects to your target data source. This creates the "bridge" connection.
The easiest way is to use the "Test Data Source" button on the final page of the DSN configuration wizard in the ODBC Data Source Administrator. You can also use the C++ Demo application included with the installation.
Verify that the "OpenLink Request Broker" service is running in services.msc. Check
the broker's log file (typically located in the \bin directory of the installation)
for any error messages. Also, ensure no firewall is blocking the configured port.
Yes, this is a key use case for the Multi-Tier Enterprise Edition. The bridge allows a 32-bit client application to connect to the 32-bit OpenLink driver, which then communicates with the 64-bit Request Broker and Agent, which in turn uses the 64-bit native database driver.
Additional Resources
For more information and support, please refer to the following resources:
- OpenLink Web Site
- OpenLink Documentation
- OpenLink ODBC to ODBC Bridge Driver
- OpenLink Troubleshooting Resources
- OpenLink Support
- OpenLink Community Forum