Why Use an ODBC-to-JDBC Bridge?
This guide addresses a common and critical scenario: your target data source offers only a JDBC driver for connectivity, but your client application is built to use ODBC. The OpenLink ODBC-to-JDBC Bridge seamlessly translates between these two standards, unlocking access that would otherwise be impossible. The Lite Edition provides this core functionality with the following advantages:
Direct & Simple Connectivity
The single-tier architecture loads directly into your application's process space. There are no separate server components to install or manage, simplifying setup and reducing complexity.
Universal JDBC Compatibility
Unlock access to any JDBC-compliant data source from your existing ODBC applications. The bridge ensures broad compatibility with a wide range of modern databases and data sources.
High-Performance Bridging
Benefit from an efficient, in-process translation between ODBC and JDBC API calls. This direct bridging architecture ensures minimal performance overhead for your data access operations.
Overview
The OpenLink Single-Tier 'Lite' Edition ODBC Driver for JDBC Data Sources (ODBC-JDBC Bridge) enables macOS applications to access JDBC-compliant data sources through the ODBC interface. This guide provides comprehensive installation and configuration instructions for macOS operating systems.
What is the ODBC-JDBC Bridge?
The ODBC-JDBC Bridge is a database driver that employs ODBC to connect to databases while providing a bridge between the JDBC and ODBC APIs. This allows applications designed for ODBC to seamlessly access JDBC data sources without modification.
Key Features
- Single-Tier architecture (no separate database server required)
- Universal support for any JDBC-compliant data source
- Full ODBC API compliance
- Native support for 64-bit macOS (Intel & Apple Silicon)
- Advanced configuration options for performance tuning
Installation Process
The installation process is straightforward and typically takes 5-10 minutes. Follow the 15 steps below:
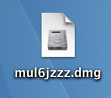
Download DMG File
The Lite Edition is distributed in a single disk image (.dmg) file containing a Macintosh Installer package (.mpkg).
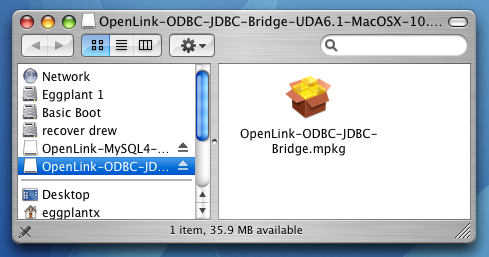
Double-Click MPKG
Double-click the .mpkg to start the installation process.
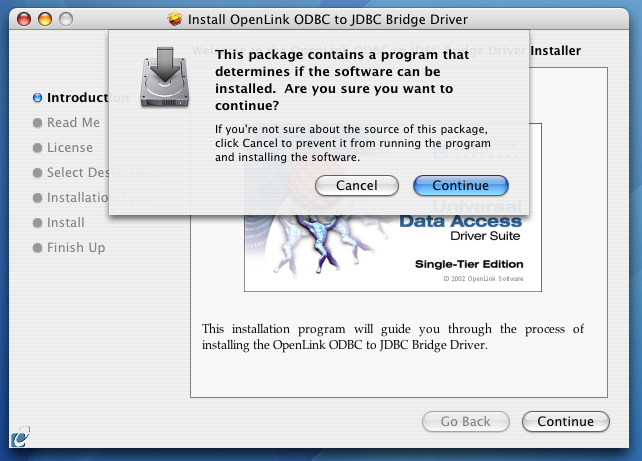
Warning Dialog
You will encounter a warning message asking if you are sure you want to install the software. Click Continue.
Welcome Screen
The installer displays a Welcome message. Click "Continue."

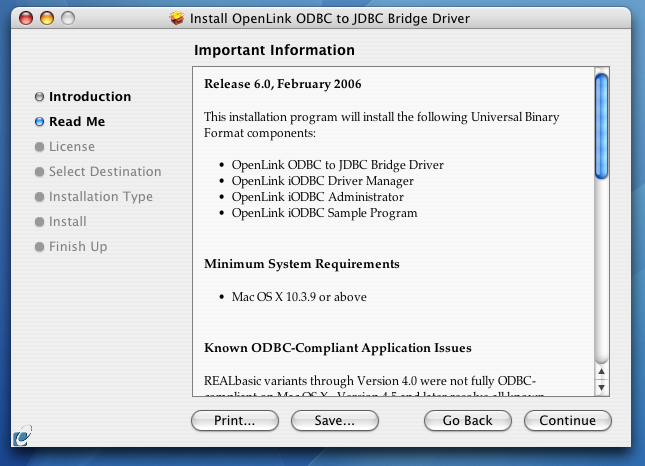
Read Me File
The next screen displays the Read Me file with last-minute updates. Please read carefully and click "Continue".
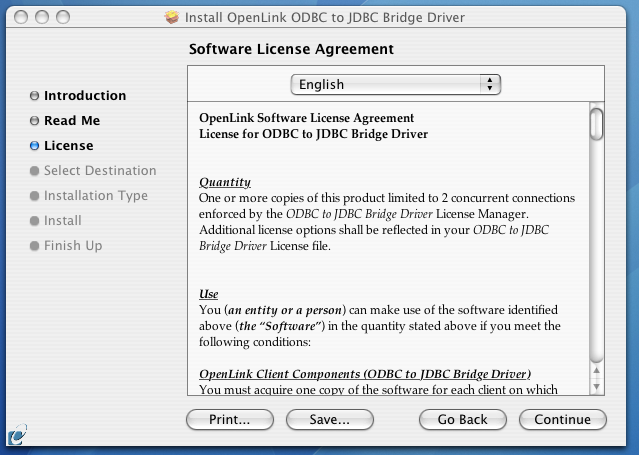
License Agreement
The License Agreement for the Lite Edition is displayed. Read and click "Continue."
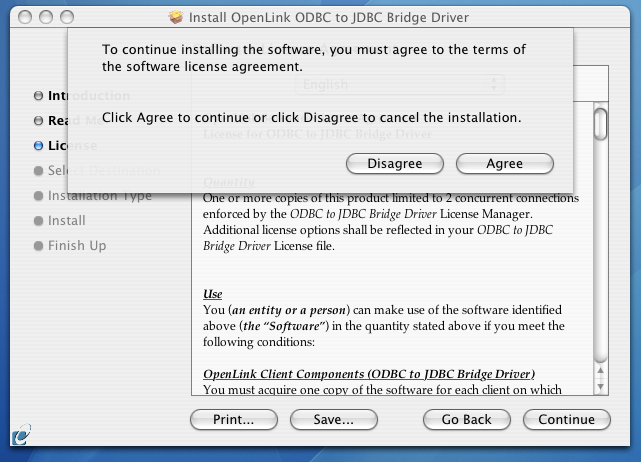
Agree Dialog
You will be prompted to "Agree" to continue the installation or "Disagree" to abort.
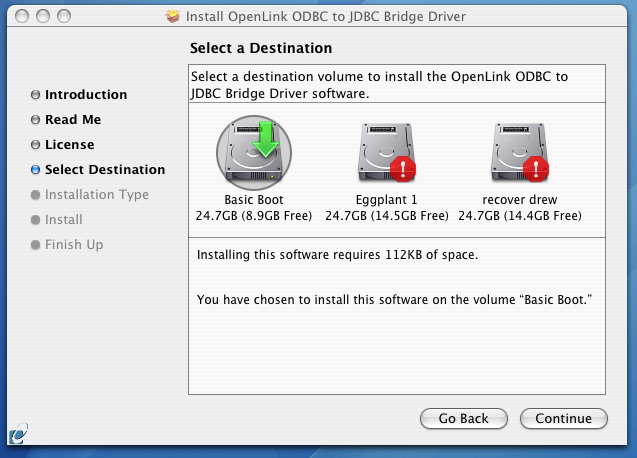
Select Destination
You will be asked to select a Destination Volume. Generally, this should be your macOS boot volume. Click the desired disk icon and then click "Continue."
Installation Mode
You may now choose Easy Install (recommended), or if you are an experienced user, you may Customize which components are installed.
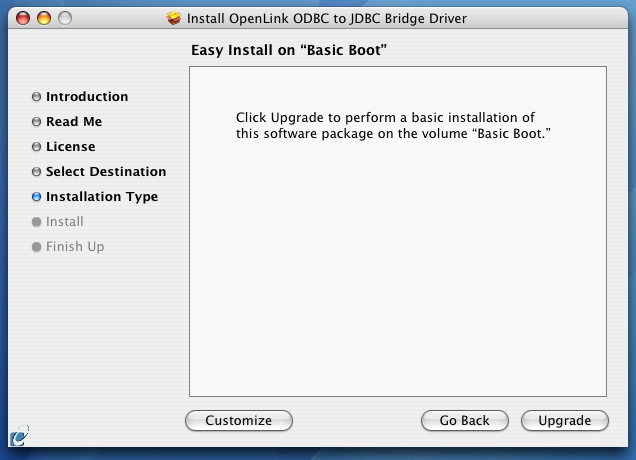
Upgrade or Install
If you have installed OpenLink or iODBC components in the past, click "Upgrade" to continue. Otherwise, click "Install."
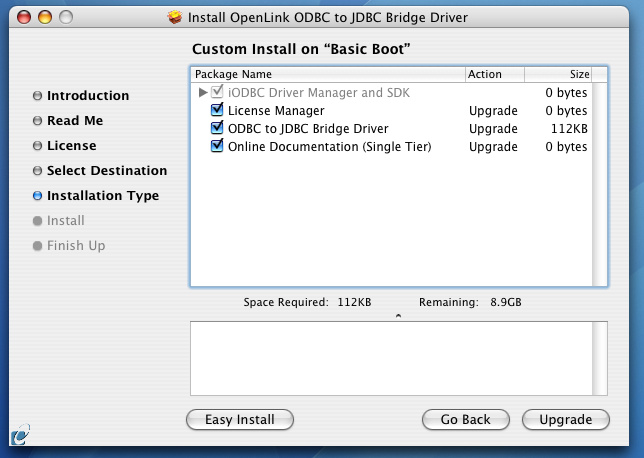
Custom Components
If you chose the custom option, select which of the listed components to install.
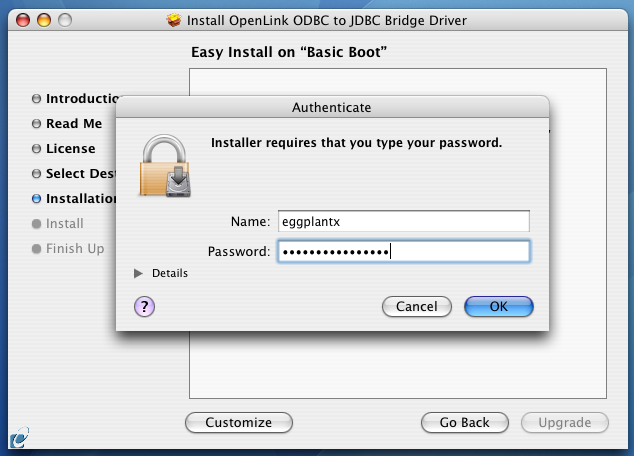
Authentication
You must have an Administration username and password to install this driver. Enter your macOS Username and Password.
Progress & Optimization
You will be shown a graphical progress bar as the Installation progresses, followed by System Optimization.
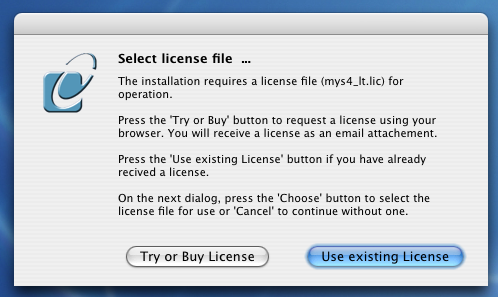
License File Selection
After the driver has been installed, you will be prompted to locate a license file.
Default Location:
/Library/Application Support/openlink/Licenses/License Filename:
jdbc_lt.licIf a correctly named file already exists in
$OPL_LICENSE_DIR or
/Library/Application Support/openlink/Licenses/, you will not see this dialog. If
the existing file is not valid, you will need to manually apply a valid license file.
Choose one option:
- Use Existing: If a license file already exists on the machine. Previously generated license files may be re-downloaded from your ODS-Briefcase data space.
- Try or Buy: If you need to obtain a new trial or permanent license file.
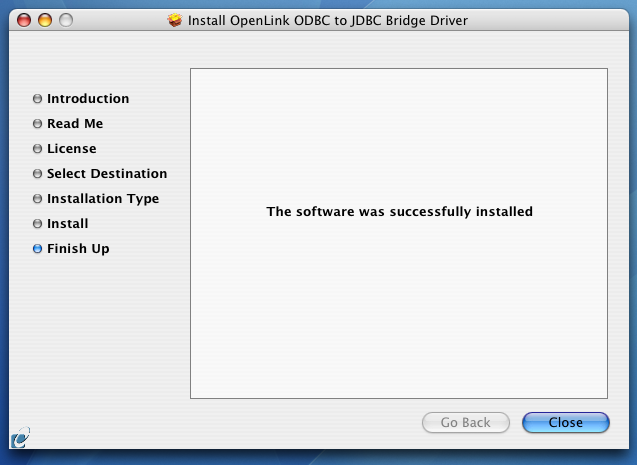
Completion
When the process is complete, you will be told that the software was successfully installed. Click "Close" and the Single-Tier "Lite" Edition ODBC Driver for JDBC Data Sources is ready for use.
Java Environment Setup & JDBC Testing
Before configuring ODBC DSNs, verify that your JDBC drivers are properly installed and accessible. This section guides you through environment setup and provides a Java utility to test JDBC driver connectivity.
Locate JDBC Driver JAR Files
Determine the location of the JAR files for each JDBC driver you plan to use. Ideally, place all
JDBC driver JARs in a common directory for easier management, such as
/Library/Java/Extensions/.
Set CLASSPATH Environment Variable
Ensure the CLASSPATH operating system environment variable includes entries for each JDBC driver
JAR file location. Add this to your shell profile (e.g., ~/.bash_profile,
~/.zshrc):
export CLASSPATH=".:$CLASSPATH"
export CLASSPATH="/Library/Java/Extensions/*:$CLASSPATH"
Then reload your shell: source ~/.zshrc
Save UniversalJDBCTest.java
Copy the complete UniversalJDBCTest Java source code below to a file named
UniversalJDBCTest.java. This utility discovers installed JDBC drivers and tests
their connectivity.
import java.sql.Connection;
import java.sql.DatabaseMetaData;
import java.sql.DriverManager;
import java.sql.SQLException;
import java.sql.Driver;
import java.util.Enumeration;
import java.util.ArrayList;
import java.util.List;
import java.util.Scanner;
import java.io.Console;

public class UniversalJDBCTest {

    public static void main(String[] args) {
        Scanner scanner = new Scanner(System.in);
        Console console = System.console();

        System.out.println("=== Universal JDBC Connection Test ===\n");

        // Collect registered JDBC drivers
        List<Driver> driverList = new ArrayList<>();
        Enumeration<Driver> drivers = DriverManager.getDrivers();
        System.out.println("Available JDBC Drivers:\n");

        int index = 1;
        while (drivers.hasMoreElements()) {
            Driver driver = drivers.nextElement();
            driverList.add(driver);
            System.out.printf("%d) %s (v%d.%d)\n",
                    index++, driver.getClass().getName(),
                    driver.getMajorVersion(), driver.getMinorVersion());
        }

        if (driverList.isEmpty()) {
            System.out.println("⚠️ No JDBC drivers are registered with DriverManager.");
            System.out.println("Make sure your driver JARs are on the classpath.");
            scanner.close();
            return;
        }

        // Prompt user to select a driver
        System.out.print("\nSelect a driver by number: ");
        int driverChoice = -1;
        while (driverChoice < 1 || driverChoice > driverList.size()) {
            if (scanner.hasNextInt()) {
                driverChoice = scanner.nextInt();
                if (driverChoice < 1 || driverChoice > driverList.size()) {
                    System.out.print("Invalid choice. Please enter a valid driver number: ");
                }
            } else {
                System.out.print("Please enter a number: ");
                scanner.next(); // discard invalid input
            }
        }
        scanner.nextLine(); // consume newline

        Driver selectedDriver = driverList.get(driverChoice - 1);
        System.out.println("\nSelected Driver: " + selectedDriver.getClass().getName());

        // Prompt for connection parameters
        System.out.print("\nEnter JDBC URL (e.g., jdbc:oracle:thin:@host:port:sid): ");
        String jdbcUrl = scanner.nextLine().trim();

        System.out.print("Enter username: ");
        String username = scanner.nextLine().trim();

        String password;
        if (console != null) {
            char[] pwChars = console.readPassword("Enter password: ");
            password = new String(pwChars);
        } else {
            System.out.print("Enter password (visible): ");
            password = scanner.nextLine();
        }

        // Attempt connection
        System.out.println("\nConnecting...");
        try (Connection conn = DriverManager.getConnection(jdbcUrl, username, password)) {
            DatabaseMetaData metaData = conn.getMetaData();

            System.out.println("\n=== Connection Metadata ===");
            System.out.println("JDBC Driver Name: " + metaData.getDriverName());
            System.out.println("JDBC Driver Version: " + metaData.getDriverVersion());
            System.out.println("JDBC Spec Version: " +
                    metaData.getJDBCMajorVersion() + "." + metaData.getJDBCMinorVersion());
            System.out.println("Database Product Name: " + metaData.getDatabaseProductName());
            System.out.println("Database Product Version: " + metaData.getDatabaseProductVersion());
            System.out.println("\n✅ Connection successful!");
        } catch (SQLException e) {
            System.err.println("\n❌ SQL Error: " + e.getMessage());
            e.printStackTrace();
        } finally {
            scanner.close();
        }
    }
}Compile the Java Source
Compile the UniversalJDBCTest.java file with the JDBC driver classes in the classpath:
javac -cp ".:/Library/Java/Extensions/*" UniversalJDBCTest.javaThis creates UniversalJDBCTest.class in the same
directory.
Run the JDBC Test Utility
Execute the compiled test program with the same classpath:
java -cp ".:/Library/Java/Extensions/*" UniversalJDBCTestThe program will display all discovered JDBC drivers and prompt you to select one for connection testing.
Verify Connection Success
When prompted, enter your JDBC connection details (URL, username, password). A successful connection displays driver metadata. If the connection fails, verify your settings before proceeding.
Configuration & DSN Setup
After verifying JDBC driver connectivity, configure ODBC DSNs to enable legacy ODBC applications to use
these JDBC drivers. Run the OpenLink iODBC
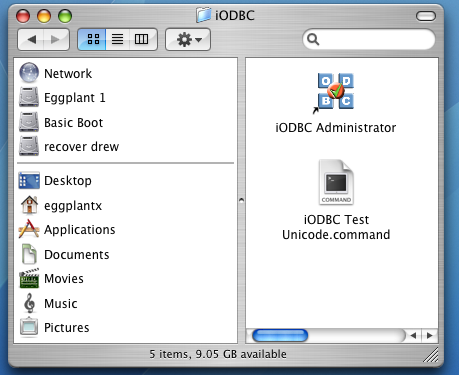
Administrator located in /Applications/iODBC folder.
Open iODBC Administrator
Launch the OpenLink iODBC Administrator application from the /Applications/iODBC folder.
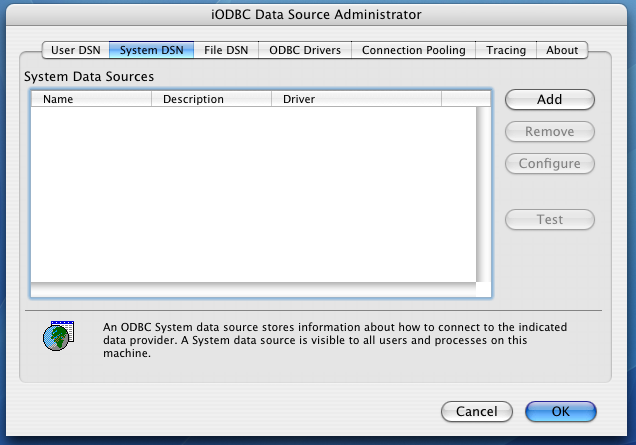
Select System DSN Tab & Add
Click the System DSN tab to manage system-wide data sources, then click the "Add" button.
Select Driver
Select "OpenLink JDBC Lite Driver" from the list of available drivers and click "Finish".

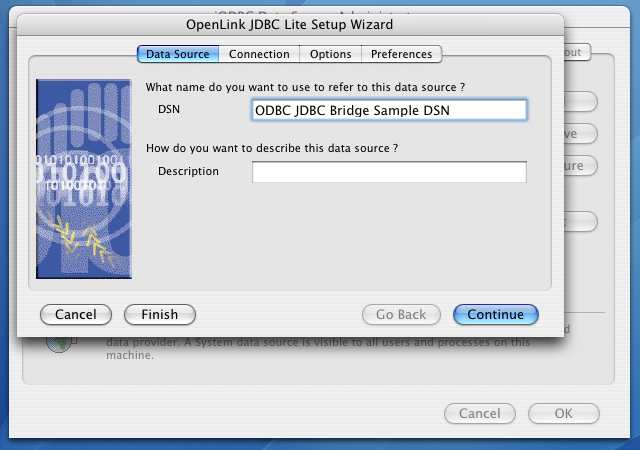
Enter DSN Name
The Data Source tab prompts you to enter a Data Source Name and optional description.
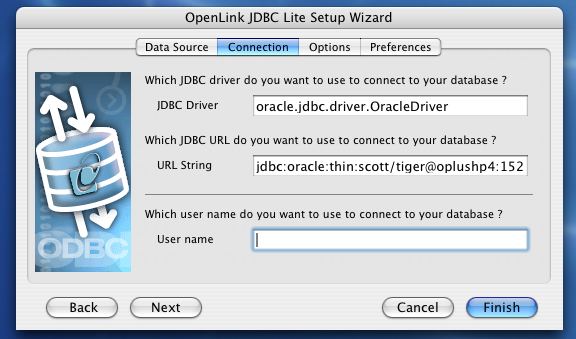
Configure Connection Parameters
The Connection Tab requires three minimum fields: JDBC Driver class name, URL String, and Username.
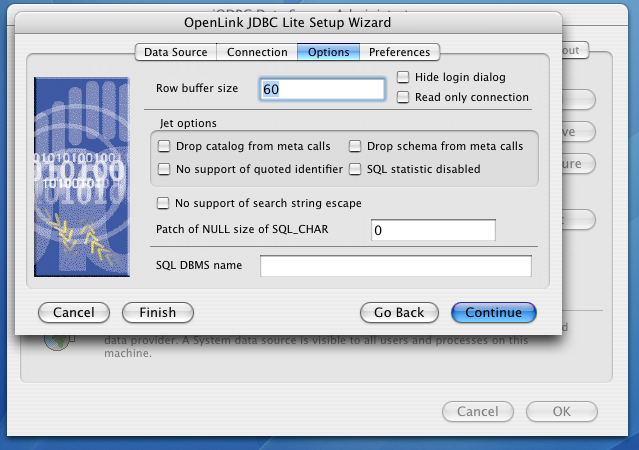
Configure Options
The Options tab provides performance and compatibility settings. The defaults are suitable for most use cases.
Advanced Preferences
Click "Continue" to access additional advanced preferences for cursor sensitivity, SQL initialization, and memory management.
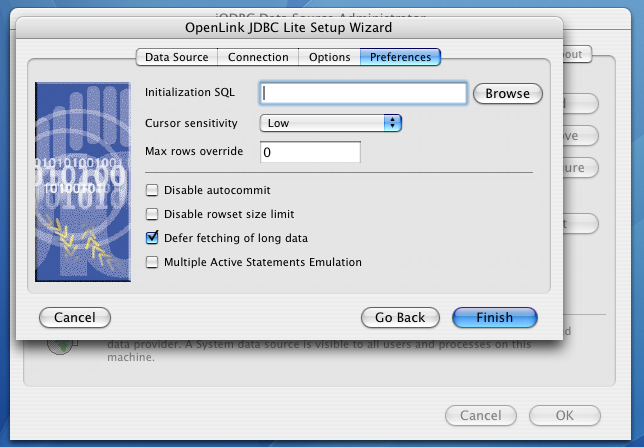
Save Configuration
Click "Finish" to save your new Data Source Name. The DSN is now available for use by ODBC-compliant applications.
Technical Glossary
ODBC - Open Database Connectivity
A standard database interface API that allows applications to connect to various database systems.
JDBC - Java Database Connectivity
The Java native database API that enables Java applications to interact with relational databases.
DSN - Data Source Name
A named configuration for connecting to a specific database, containing the driver, location, and credentials.
JRE - Java Runtime Environment
The software runtime that executes Java applications. Required for any Java-based driver to function.
JAR File - Java Archive
A compressed archive format containing Java class files. JDBC drivers are distributed as JAR files.
CLASSPATH - Java Class Path
A system variable specifying where Java looks for class files. On macOS,
/Library/Java/Extensions/ is a default location.
Single-Tier Architecture
A deployment model where all driver components run on the client machine without a separate middleware server.
Frequently Asked Questions
ODBC (Open Database Connectivity) is a standard API for accessing databases, widely used by many applications. JDBC (Java Database Connectivity) is Java's native database API. The ODBC-to-JDBC Bridge translates between these two protocols, allowing applications written for ODBC to connect to databases that only provide JDBC drivers.
Yes. The installation process requires macOS administrator username and password to install system-level drivers and libraries.
The Lite Edition is supported on Intel-based Macs running macOS 10.4 (Tiger) and later. For modern macOS versions, ensure you are using the latest driver release.
Open the iODBC Administrator (in /Applications/iODBC), click System DSN, then Add.
Select the OpenLink JDBC Lite Driver, provide your JDBC driver class name, connection URL, and
credentials.
Yes. After installation, you'll be prompted to locate or obtain a license file. OpenLink offers evaluation licenses for testing and permanent licenses for production use.